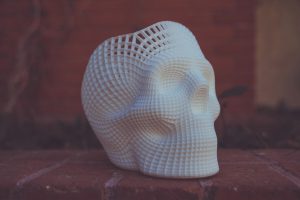
So, you’ve printed your model, maybe a phone stand, a figurine, or a mechanical part. It came off the printer in one piece, but it doesn’t quite look like what you had in mind. The surface is a bit rough, layer lines are visible, and support marks are all over.
Good news? You don’t need expensive tools or a workshop to improve how your prints look and feel. With just a few common items and simple techniques, you can take your 3D prints from “rough and ready” to “clean and professional.”
Here’s how.
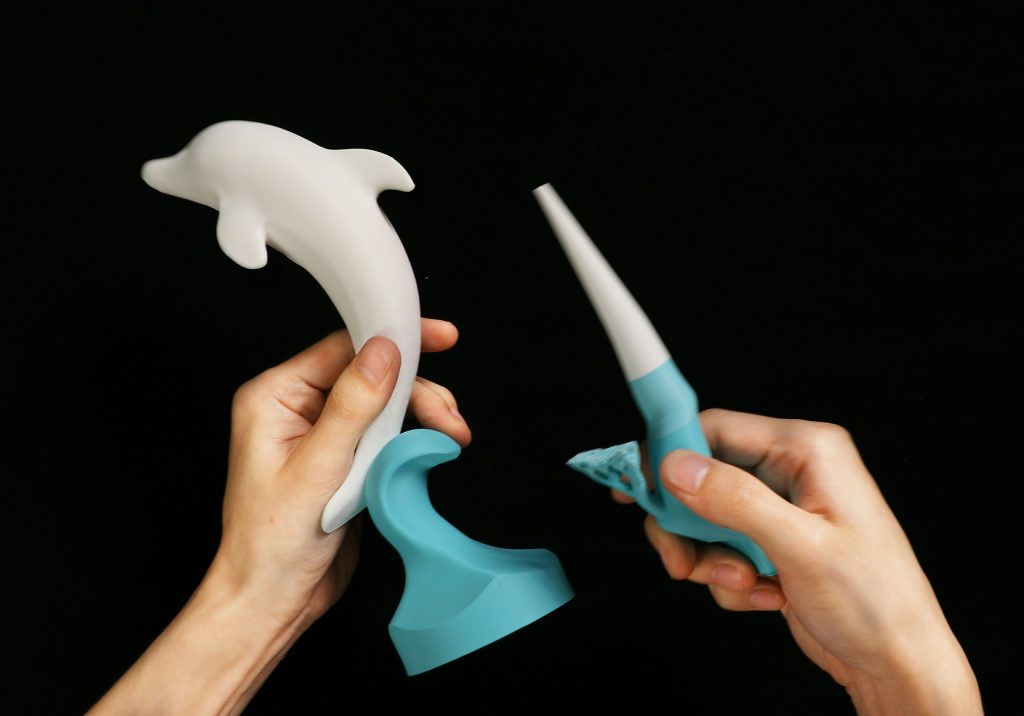
Trim the Extras
After your print finishes, you might see leftover stringing, blobs, or supports still attached.
Use what you already have:
- Nail clippers or scissors for stringing and blobs
- A kitchen knife (used carefully) to slice off rough edges
- An old toothbrush to scrub off loose particles
Sand Gently
Sanding smooths out layer lines and gives your part a cleaner look. For PLA prints, gentle sanding is usually enough.
You can use:
- Emery boards (nail files)
- Sandpaper (start with 150–220 grit, then move to 400 grit)
- Soft cloth and water for wet sanding (reduces dust and makes sanding smoother)
See: How to Smooth 3D Prints Properly
You Could Add Some Color
Adding paint for personalization.
- Use acrylic paints, they’re cheap and easy to find at local shops
- Apply with a small paintbrush or cotton swab
- Let each coat dry before applying another
- For a shiny finish, try clear nail polish as a top coat
This works well for small decorative items, figurines, and keychains.
Join or Fix Loose Parts
Printed multiple parts? Or maybe something cracked? No problem.
Fix it with things you already own:
- Super glue or nail glue for strong bonds
- Thread or zip ties for movable joints
- Double-sided tape for light items like signs or tags
Some More Tips
- Let your PLA print cool completely before touching it, warm plastic can bend easily.
- Always test sanding and painting on a small corner first.
- Store your PLA filaments dry (like those from PlaSpool) to keep prints smooth and strong.
- If your prints look stringy or messy even before finishing, check your print settings, temperature, retraction, and speed matter.
Finishing doesn’t require a workshop or power tools, just attention to detail and a little creativity. If you’re printing at home, in a student lab, or at a community makerspace, quality PLA and proper finishing can make your prints stand out. And with high-quality 3D filament from PlaSpool, you’re already one step ahead.
See More: How to 3D Print Like Glass with Transparent Filament in Nigeria
Frequently Asked Questions
What is the best way to smooth PLA prints without using expensive tools?
You can use sandpaper, nail files, or emery boards to gently smooth out the layer lines. Start with coarse grit (150–220) and move to finer grit (400–600) for a polished finish. Wet sanding helps reduce dust and gives a cleaner result.
Can I paint PLA 3D prints?
Yes! PLA takes paint well. Acrylic paint is ideal and easy to find. Just make sure the print is clean and sanded before painting. Use thin layers and let each coat dry before applying another.
Do I need a heat gun or fancy machine to finish my PLA prints?
Not at all. While tools like heat guns or polishers help, most beginners can finish PLA prints using basic tools like sandpaper, glue, and paint. Good quality 3D filament PlaSpool PLA also makes a big difference.
Need 3D Filaments? We’ve Got You Covered
Our premium 3D filament line is coming soon to Nigeria and West Africa. Join our waitlist and be the first to shop when we launch!